Adding custom dirt bike graphics to your bike is a great way to customize the look of your ride and make it stand out from the crowd. With the right tools and materials, you can create a unique and personal look for your ride. Here is a step-by-step guide to applying custom dirt bike graphics.
1. Start by cleaning your bike with a mild detergent and a soft cloth. This will help to remove any dirt, dust, or debris that could interfere with the graphics. Once the bike is clean and dry, you can begin to apply the graphics. You can look at this site https://stepupmx.com/ if you are looking for the right custom dirt bike graphics.
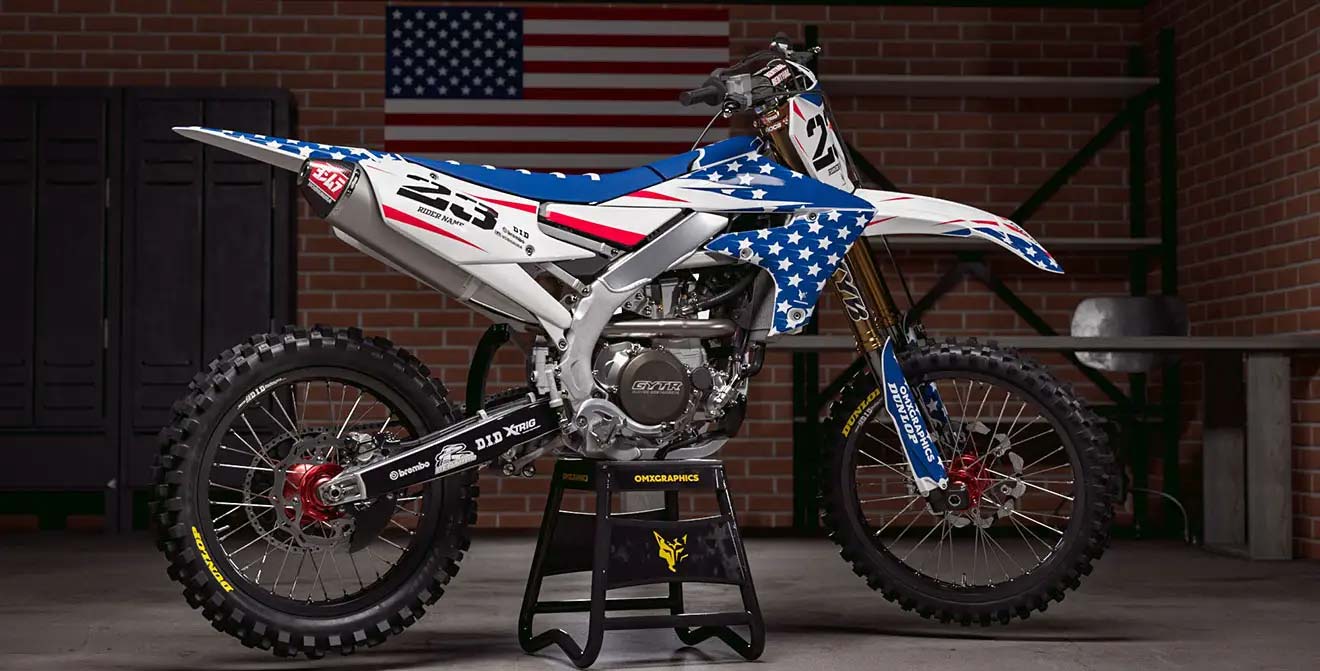
Image Source: Google
2. Lay out the graphics on a flat surface and check for any imperfections or damage to the material. If any graphics are damaged, you may need to replace them before moving on.
3. Once you’ve checked for any damage, you can begin to peel the backing off the graphics. Make sure to do this slowly and carefully to avoid tearing the material.
4. Once the backing is off, you can carefully apply the graphic to your bike. Make sure to line up the graphics with the edges of the frame and use a squeegee to apply pressure and secure the material in place.
By following these steps, you can easily and quickly apply custom dirt bike graphics to your ride. With a little practice, you can create a unique and stylish look for your bike.